If someone has ever submitted an ad on your site without any images attached, you’ll notice it uses the “No Image Available” placeholder image. For most people that’s fine but if you didn’t like the wording, color, or wanted to change it to a different language you needed to use image editing software.
Not anymore. Here’s a simple tutorial on how to easily change the default placeholder image without using any editing software.
This is the default image that comes with ClassiPress. It looks fine but not for everyone.
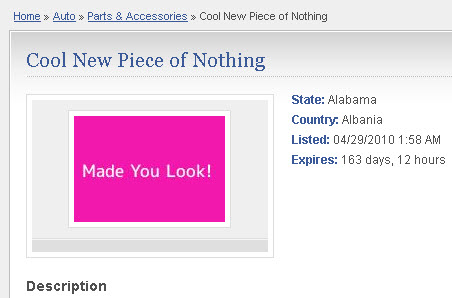
This is the new default image after I wave my magic wand.
Ok, so I went a little extreme with the pink and text but I wanted to show you how easy it is. That took me less than a minute to create. Now it’s your turn.
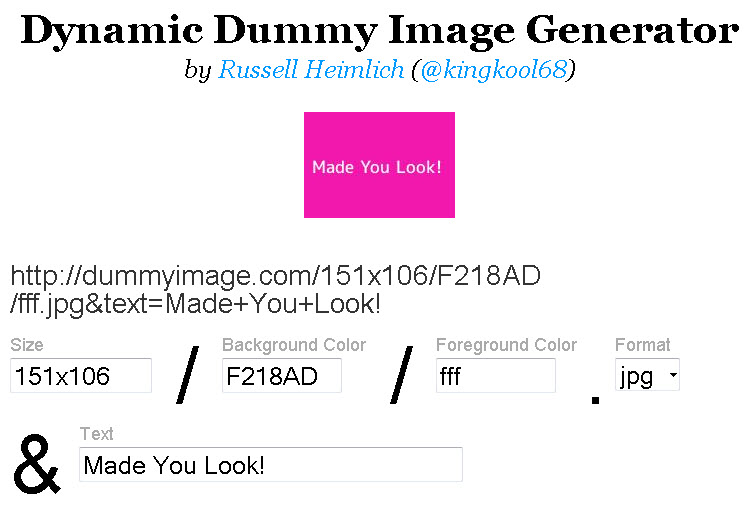
- Go to Dynamic Dummy Image Generator
- Enter 151×106 in the size box.
- Enter a background color hex (generate one from here)
- Enter a foreground color hex (what the text color will be)
- Select “jpg” from the “Format” drop-down
- Enter the image text you want
- Right click on your new image and “Save Image As”
- Save it on your desktop as “no-thumb.jpg”
- FTP into your website so we can upload the new image
- Navigate to /wp-content/themes/classipress/images/
- Rename your existing “no-thumb.jpg” in case you want to ever use it again (optional step)
- Put your new “no-thumb.jpg” image from your desktop into the images folder
- Visit an ad on your site that doesn’t have any images
- It should now be replaced with your new image!
Here’s a couple screen shots of what my examples looked like.
And behold, the color picker and color hex I used.
See how simple that was? Did you like this tutorial? Let us know below! We will continue to write tutorials like this if they are useful for our customers.